TPE sex dolls are known for their realistic feel and flexibility, making them a popular choice among enthusiasts. Even though TPE is more elastic, compared to other materials used for sex dolls or sex toys, it can still wear out. This guide will explain the step by step process for fixing tears and the TPE sex doll repair process so that they look new again.
1. Introduction
TPE sex dolls are made to be as realistic as possible but they’re not indestructible. Tears and cuts may arise as a consequence of multiple acts like mishandling, sharp objects, or stretching the component beyond its limits. Therefore, this guide will provide you with the much-needed knowledge as well as practical skills so that in future, if by chance something hits your TPE sex doll then it can too be repaired and thus extending the life of your sex doll.
2. Understanding TPE Material
TPE – Thermoplastic Elastomer is a rubber and plastic material that allows flexibility with durability. It has a skin-like texture, which is soft and favorable among sex dolls. TPE is also porous and rips very easily, next to silicone it needs more maintenance and special care.
3. Identifying the Type and Extent of Damage
Before beginning any repair, it’s crucial to assess the type and extent of the damage:
- Surface Tears: Small, shallow cuts or abrasions on the surface.
- Deep Cuts: Penetrating tears that go deeper into the material.
- Punctures: Holes caused by sharp objects.
Understanding the damage will help you choose the right repair method and materials.
4. Tools and Materials Needed
For effective TPE repair, gather the following tools and materials:


- TPE Glue: Specifically designed for bonding TPE material.
- Cotton Swabs: For precise application of adhesive.
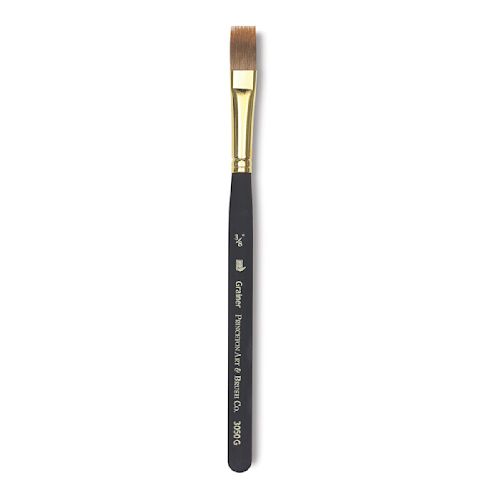
- Brushes: For spreading adhesive evenly.
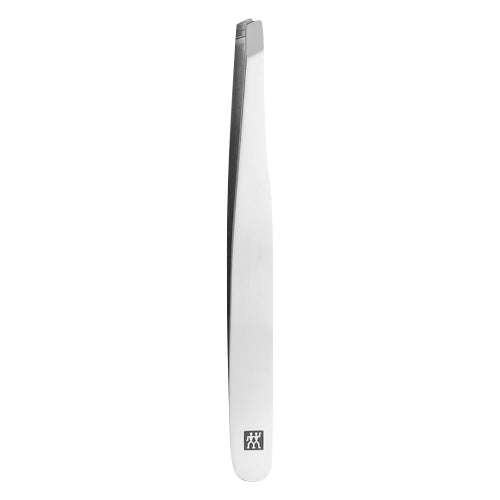
- Tweezers: For handling small pieces and precise work.
- Fine Sandpaper: For smoothing repaired areas.
- Cleaning Solution: Mild soap and water
- Powder: Cornstarch to finish the repair.
5. Preparation Steps
Proper preparation is key to a successful repair:
- Clean the Area: Use a mild soap and water solution to clean the damaged area. Ensure it is completely dry before proceeding.
- Secure the Doll: Position the doll so that the damaged area is easily accessible and stable.
- Gather Materials: Have all your tools and materials within reach to avoid interruptions during the repair process.
6. Repairing Surface Tears
Surface tears are generally easier to repair than deep cuts. Follow these steps for surface tear repairs:
Step-by-Step Process
- Apply TPE Glue: Use a cotton swab or brush to apply a thin layer of TPE glue to both sides of the tear. Be careful not to use too much glue, as it can cause uneven bonding.
- Align the Edges: Gently press the edges of the tear together, ensuring they are perfectly aligned.
- Hold in Place: Hold the edges together for a few minutes to allow the glue to set. You can use tweezers to help with precise alignment.
- Smooth the Surface: Once the glue has dried, use fine sandpaper to smooth any uneven areas.
- Powder the Area: Lightly dust the repaired area with cornstarch or talcum powder to reduce stickiness and blend the repair with the surrounding material.
7. Repairing Deep Cuts and Punctures
Deep cuts and punctures require a more thorough approach. Here’s how to handle them:
Step-by-Step Process
- Clean the Wound: Thoroughly clean the damaged area with a mild soap and water solution or an alcohol wipe. Dry completely.
- Apply TPE Filler: If the repair kit includes a filler, use it to fill the deep cut or puncture. This helps restore the original shape and structure of the doll.
- Apply TPE Glue: After the filler has set (if applicable), apply TPE glue to the edges of the cut. Ensure an even application using a brush or cotton swab.
- Press and Hold: Carefully align and press the edges together. Hold in place for several minutes to ensure proper bonding.
- Smooth the Repair: Once the glue has dried, use fine sandpaper to smooth out any rough edges.
- Blend and Finish: Apply a light dusting of powder to the repaired area to reduce stickiness and blend the repair seamlessly with the surrounding TPE.
8. Finishing Touches
After completing the repair, give your doll some finishing touches:
- Inspect the Repair: Check the repaired area for any signs of weakness or incomplete bonding.
- Clean and Powder: Clean the entire doll with a mild soap and water solution, then dry and powder it to maintain its texture and appearance.
- Store Properly: Store your doll in a cool, dry place away from direct sunlight to prevent further damage.
9. Maintenance Tips
Regular maintenance can prevent damage and extend the lifespan of your TPE sex doll:
- Clean Regularly: Clean your doll with mild soap and water after each use.
- Powder the Skin: Apply cornstarch or talcum powder regularly to keep the skin smooth and prevent stickiness.
- Handle with Care: Avoid sharp objects and excessive force to prevent tears.
- Store Properly: Store your doll in a neutral position to avoid stress on the TPE material.
10. When to Seek Professional Help
Some damages may be beyond DIY repair. Seek professional help if:
- The tear is too large or complex to handle.
- You are unsure about the repair process.
- The doll has structural damage that requires professional attention.
11. FAQs
Q: Can I use household glue for TPE repairs? Answer: It is not recommended. TPE is not supposed to be bonded with household glues as the bond will break. Always use TPE-specific glue.
Q: How long does TPE glue take to set? Answer: TPE glue typically takes a few minutes to set, but it is best to let it cure for at least 24 hours for maximum strength.
Q: Can I repair my doll if the tear is on a joint? Answer: Joint repairs can be more complicated and may require professional assistance. If the joint is damaged, contact the manufacturer or a professional repair service.
Q: How often should I powder my TPE doll? Answer: Powder your doll after each cleaning and as needed to maintain its texture and prevent stickiness.
Q: Is it normal for TPE to have a slight odor? Answer: Yes, TPE can have a slight odor when new. This usually dissipates over time. If the odor is strong or unpleasant, ensure proper ventilation and cleaning.
Conclusion
The process of repairing holes in TPE sex dolls may seem difficult to you, but with the right tools and knowledge it can be done easily. By following this TPE sex doll repair guide, you can effectively repair surface tears, deep cuts, and punctures. With proper treatment and regular maintenance included, your TPE sex doll will last for years to come.
Please let us know if you have any further questions or concerns and you should always seek the assistance of a professional when dealing with complex problems. Happy repairing!
