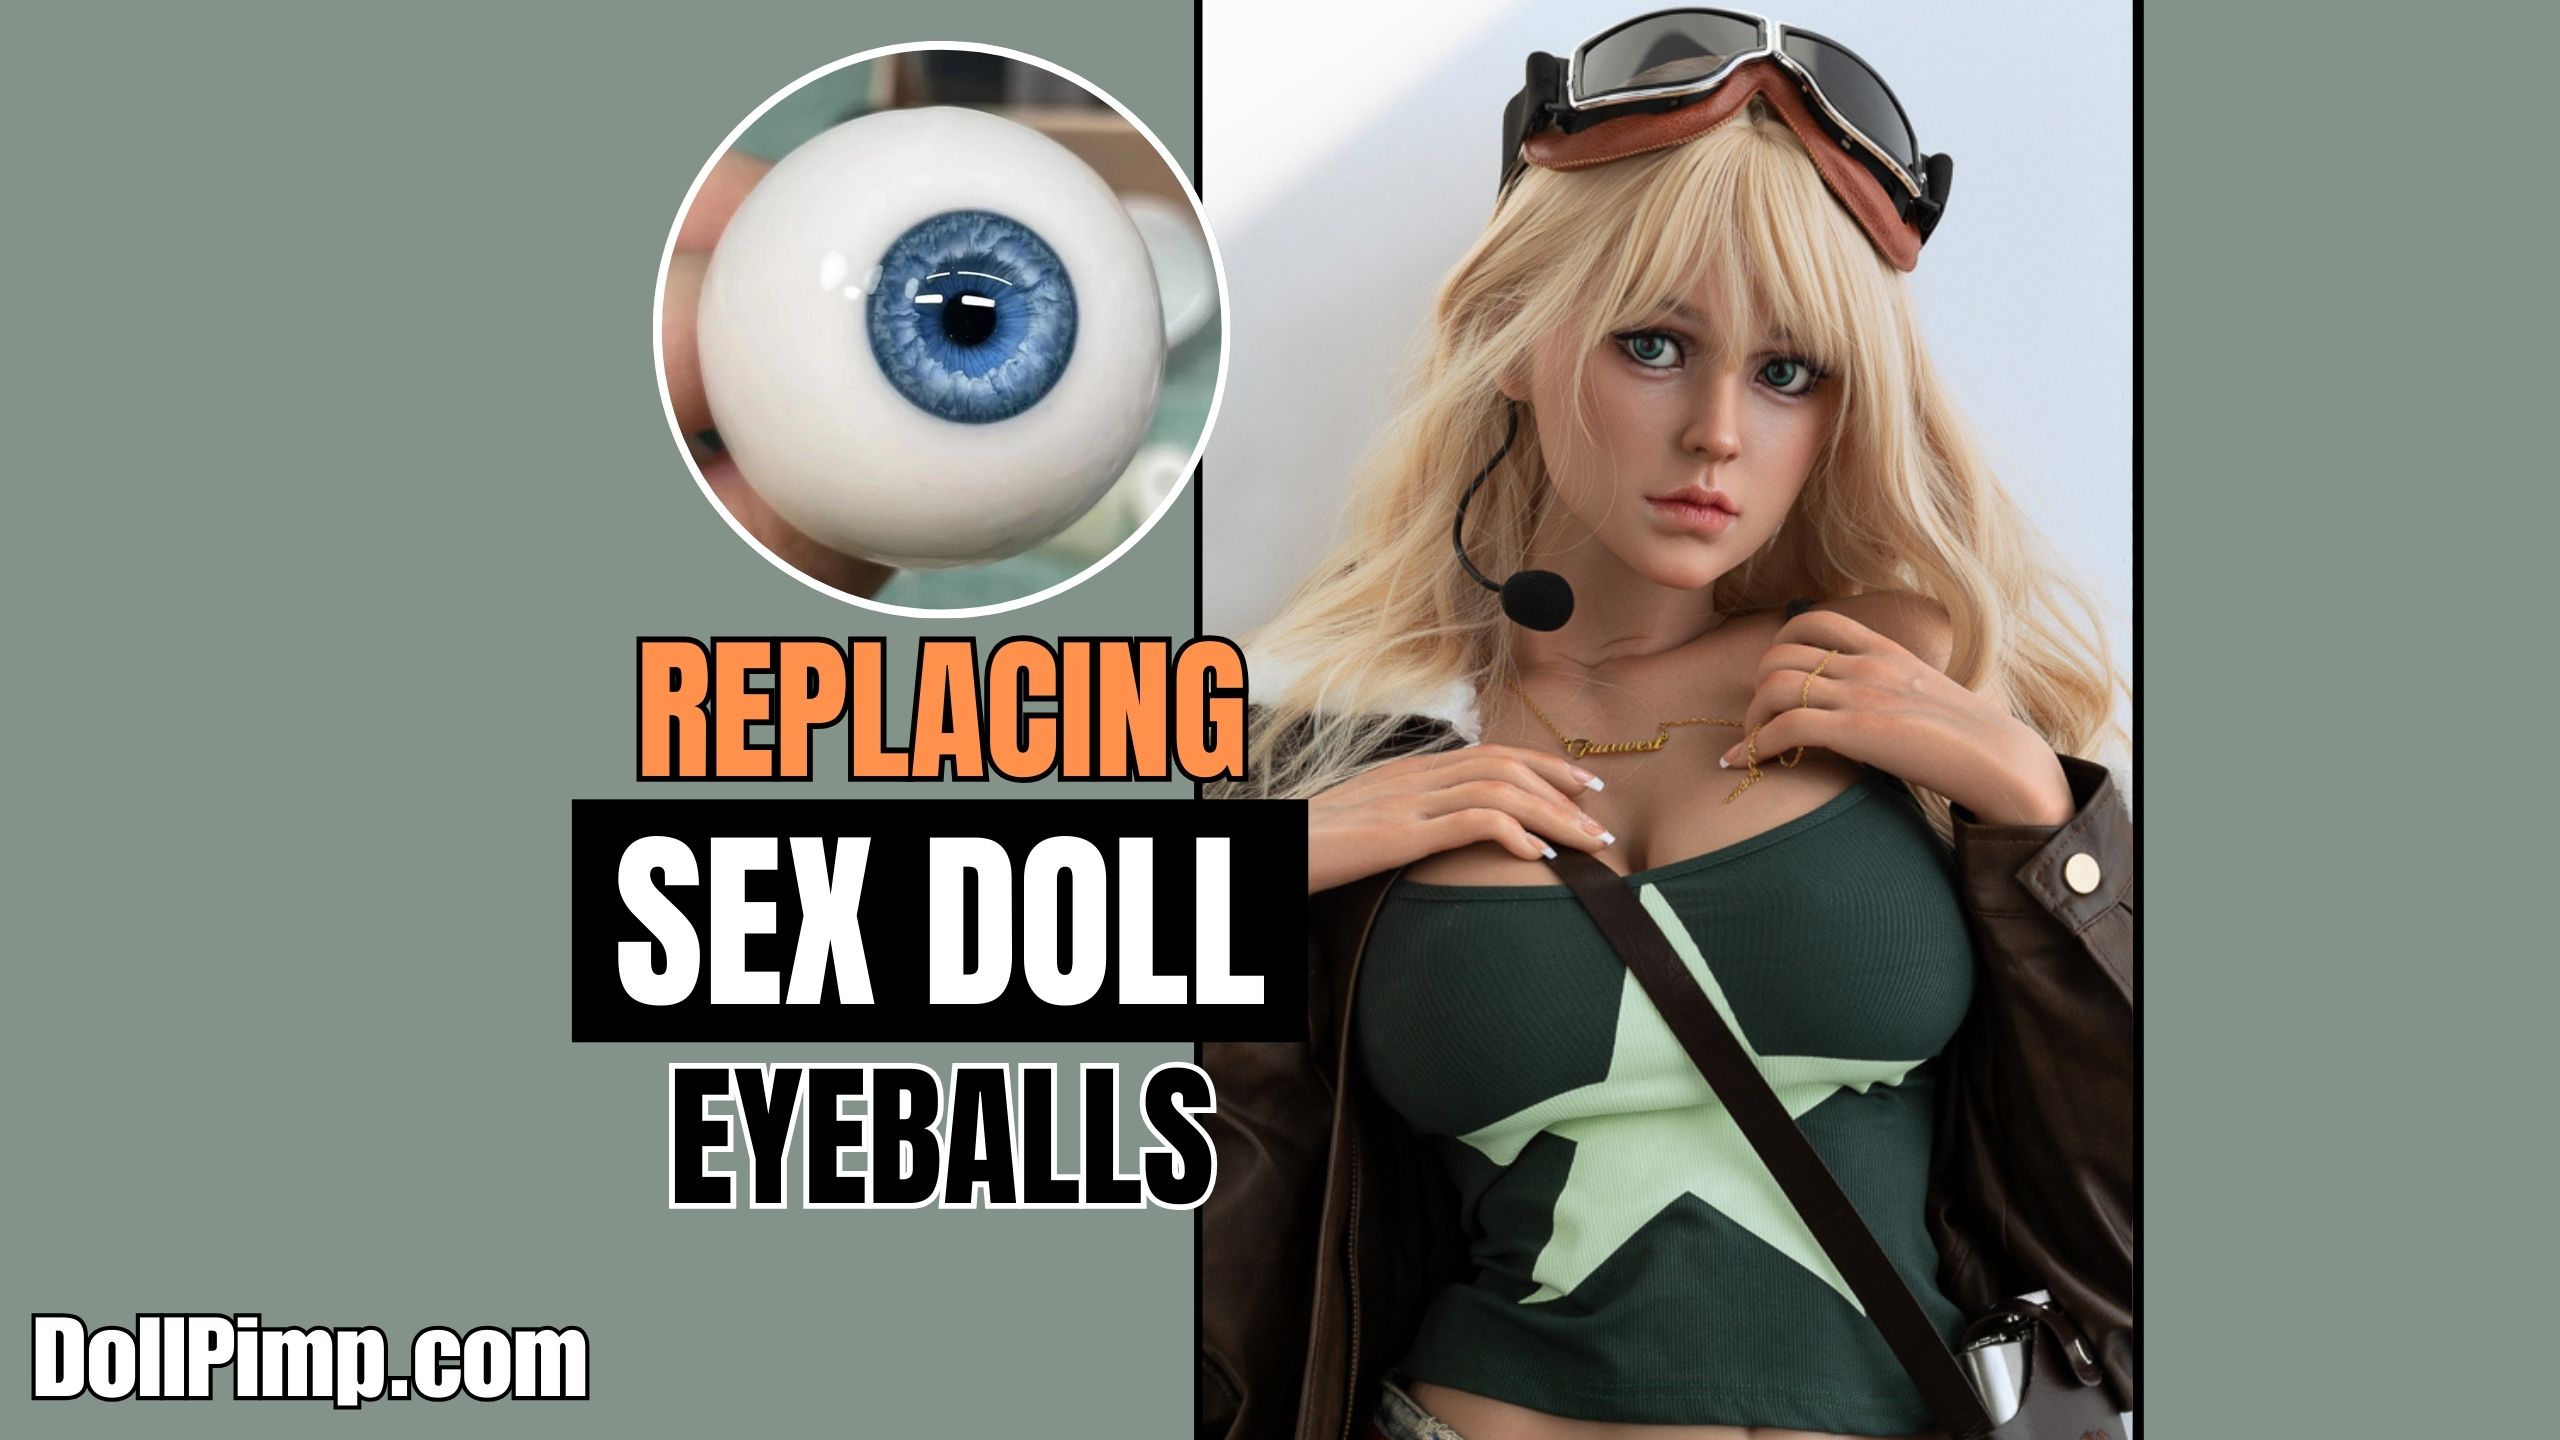
Replacing the eyeballs on a sex doll head is a delicate process that can significantly enhance the doll’s appearance. Whether you wish to create more realism, change the color, or repair your doll, this guide will help you with all steps from start till finish. If you have the tools and a little bit of patience, then you can easily replace your sex doll’s eyeballs. Here are tips to get your new sex doll head looking just how you’d like!
- Understanding the Anatomy of the Sex Doll Head
- Components of the Eye Area:
- Tools and Materials You’ll Need
- Step 1: Preparing the Work Area
- Step 2: Preparing the Sex Doll
- Step 3: Removing the Old Eyeballs
- Step 4: Choosing the Right Eyeballs
- Step 5: Inserting the New Eyeballs
- Step 6: Reattaching or Adjusting Eyelids and Eyelashes
- Step 7: Final Inspection and Adjustments
- Step 8: Caring for the New Eyes
- Troubleshooting Common Issues
- Conclusion
Understanding the Anatomy of the Sex Doll Head
Before diving into the replacement process, it’s essential to understand the anatomy of the sex doll head, particularly the eye area. The sex doll heads of most are made from silicone or a more flexible material, TPE (Thermoplastic Elastomer). The eyeballs are typically spheroid structures held in place by eye sockets within the skull that allow the eyes to move but not fall out.
Components of the Eye Area:
- Eyeballs: Typically made of hard plastic or acrylic, with a realistic iris and sclera.
- Eye Sockets: The hollow cavities in the head where the eyeballs are placed.
- Eyelids: The upper and lower lids that frame the eyes. These may be sculpted as part of the head or added separately.
- Eyelashes: Often glued to the eyelids for a more realistic appearance.
- Eye Retainer (Optional): Some sex dolls come with an eye retainer, a soft material like sponge or silicone that helps keep the eyeballs in place.
Tools and Materials You’ll Need
To replace the eyeballs on your sex doll head, gather the following tools and materials:


- New Eyeballs: Choose the size, color, and type (plastic or acrylic) that you want to replace.
- Cotton Gloves: To prevent smudges and dirt on the doll’s face and new eyeballs.
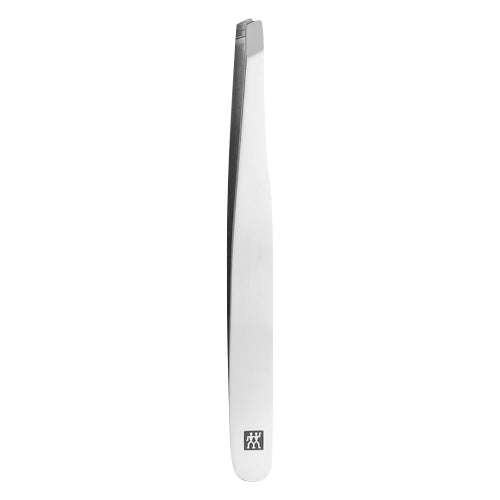
- Tweezers: Useful for handling small parts like eyelashes or for gently prying open the eye area.
- Silicone or TPE Adhesive: If you need to reattach any parts like eyelashes or eyelids.
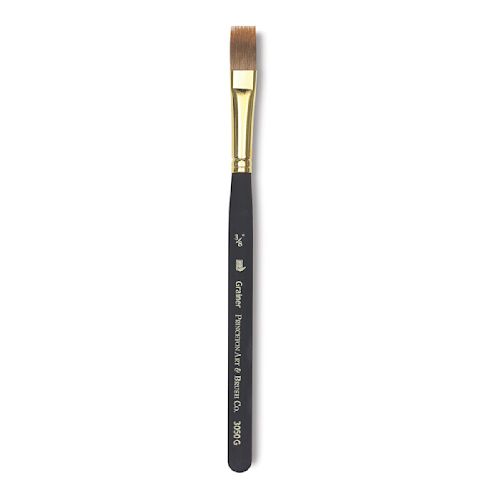
- Makeup Brushes: To clean off any debris from the eye area or to adjust makeup around the eyes.
- Cotton Swabs and Alcohol: For cleaning the eye sockets before placing the new eyeballs.
- Lubricant (Optional): A small amount of water-based lubricant can help ease the new eyeballs into place if the fit is tight.
- Small Mirror: To check the alignment and positioning of the new eyeballs.
Step 1: Preparing the Work Area
Make sure to have a clean, well lit workspace with no dust. A cleaner surface will help keep away any debris in the eye sockets or on the new eyeballs. Place a soft towel or cloth over the face so that your sex doll head is not scratched during the process. Ensure your tools and materials are at arm’s length.
Step 2: Preparing the Sex Doll
Place the doll in a comfortable position where the head is stable and won’t move around during the procedure. This makes it possible that you attend to the eyes with both hands free and not being worried about tilting your sex doll head.
Step 3: Removing the Old Eyeballs
The process of removing the old eyeballs will vary depending on the type of doll and how the eyes are secured in place. Here are the general steps:
- Loosen the Eyeballs: Gently press around the eye area with your fingers to loosen the eyeballs. You may feel the eyeball start to shift within the socket.
- Carefully Extract the Eyeballs: Using your fingers or tweezers, gently pull the eyeball out of the socket. If the eyeball is secured by an eye retainer or any adhesive, you may need to apply a bit more pressure to loosen it. Be cautious not to damage the surrounding eyelids or lashes.
- Clean the Eye Sockets: Once the old eyeballs are removed, use a cotton swab dipped in alcohol to clean the inside of the eye sockets. This removes any dust, adhesive residue, or oils that could interfere with the placement of the new eyeballs.
Step 4: Choosing the Right Eyeballs
Selecting the right eyeballs for your sex doll is crucial for achieving the desired look. Consider the following factors:
- Size: Ensure the new eyeballs are the correct size for the doll’s eye sockets. Common sizes range from 16mm to 26mm, but it’s essential to measure the original eyeballs or consult the doll’s specifications.
- Color: Choose a color that complements the doll’s overall appearance. Realistic options include various shades of blue, brown, green, and hazel.
- Material: Plastic, acrylic, and glass are common materials for sex doll eyes. Glass eyes tend to be more realistic and durable but can be more expensive.
Step 5: Inserting the New Eyeballs
Now that the old eyeballs are removed and the sockets are clean, it’s time to insert the new eyeballs.
- Position the Eyeball: Hold the new eyeball with the iris facing outward. If the eyeball has a flat side, ensure that it’s oriented correctly within the socket. Gently push the eyeball into the socket, applying even pressure until it’s seated snugly.
- Adjust the Position: Once the eyeball is in the socket, use your fingers or a soft tool to adjust its position. You want the iris and pupil to be centered and facing forward. A small mirror can be helpful to check the alignment from different angles.
- Secure the Eyeball (Optional): If your doll came with an eye retainer or you’re using a soft material to hold the eyeball in place, insert this around the back of the eyeball inside the socket. This helps prevent the eyeball from shifting and keeps it secure.
Step 6: Reattaching or Adjusting Eyelids and Eyelashes
After the new eyeballs are in place, you may need to reattach or adjust the eyelids and eyelashes to ensure everything looks natural and realistic.
- Check the Eyelids: If the eyelids were disturbed during the process, gently press them back into place around the eyeball. Use a small makeup brush to smooth out any wrinkles or creases.
- Reattach Eyelashes: If the eyelashes have come loose or need adjustment, carefully reattach them using a small amount of silicone or TPE adhesive. Use tweezers for precision and ensure the lashes are aligned correctly along the eyelid.
- Final Touches: Use a soft brush to touch up any makeup around the eyes that may have been smudged during the process. This ensures that your doll’s face looks as good as new.
Step 7: Final Inspection and Adjustments
Once everything is in place, take a step back and inspect the doll’s eyes from different angles. Ensure that both eyeballs are aligned symmetrically and that the eyelids and lashes look natural.
- Check Symmetry: Look at the doll’s face head-on and from the sides to ensure that both eyes are positioned symmetrically. Any misalignment can create an unnatural appearance.
- Make Adjustments: If needed, make small adjustments to the eyeballs, eyelids, or eyelashes until you’re satisfied with the appearance.
- Clean Up: Wipe away any excess adhesive or debris from the eye area using a cotton swab. Ensure the doll’s face is clean and free of any smudges or fingerprints.
Step 8: Caring for the New Eyes
Now that the new eyeballs are installed, it’s important to care for them to maintain their appearance and longevity.
- Regular Cleaning: Clean the eyeballs regularly with a soft, damp cloth to remove dust and debris. Avoid using harsh chemicals that could damage the material.
- Avoid Direct Sunlight: Prolonged exposure to direct sunlight can cause the color of the eyeballs to fade. Store the doll in a cool, shaded area when not in use.
- Handle with Care: When moving or adjusting the doll’s head, be gentle around the eye area to prevent the eyeballs from shifting or getting damaged.
Troubleshooting Common Issues
Even with careful installation, you may encounter some issues during or after the eyeball replacement process. Here’s how to troubleshoot common problems:
- Misaligned Eyes: If the eyeballs appear misaligned after installation, gently adjust them using your fingers or a soft tool. Check the alignment from multiple angles to ensure symmetry.
- Loose Eyeballs: If the new eyeballs feel loose in the sockets, consider using a small amount of silicone or TPE adhesive or inserting a soft material behind the eyeball to secure it in place.
- Damage to Eyelids or Lashes: If the eyelids or lashes were damaged during the process, they may need to be replaced. You can purchase replacement parts from the doll manufacturer or from us at DollPimp.com
Conclusion
Replacing the eyeballs on a sex doll head is a meticulous task that requires patience and attention to detail. If you follow all the steps in this guide and get a new custom look. Whether you are adding realism with better material eyes or just restyling the color for your preference, it will pay off when everything is done.
Learning the process, your materials, and following each step carefully will get you there. Now let your new sex doll eyes sparkle!
